
Inspection Request
Citizens and staff can log in to their municipal web portal to submit inspection requests.
Procedures
This document explains the process of submitting a inspection request.
How to raise an Inspection Request
To submit an inspection request, access the Inspection Request form from the main service request page.
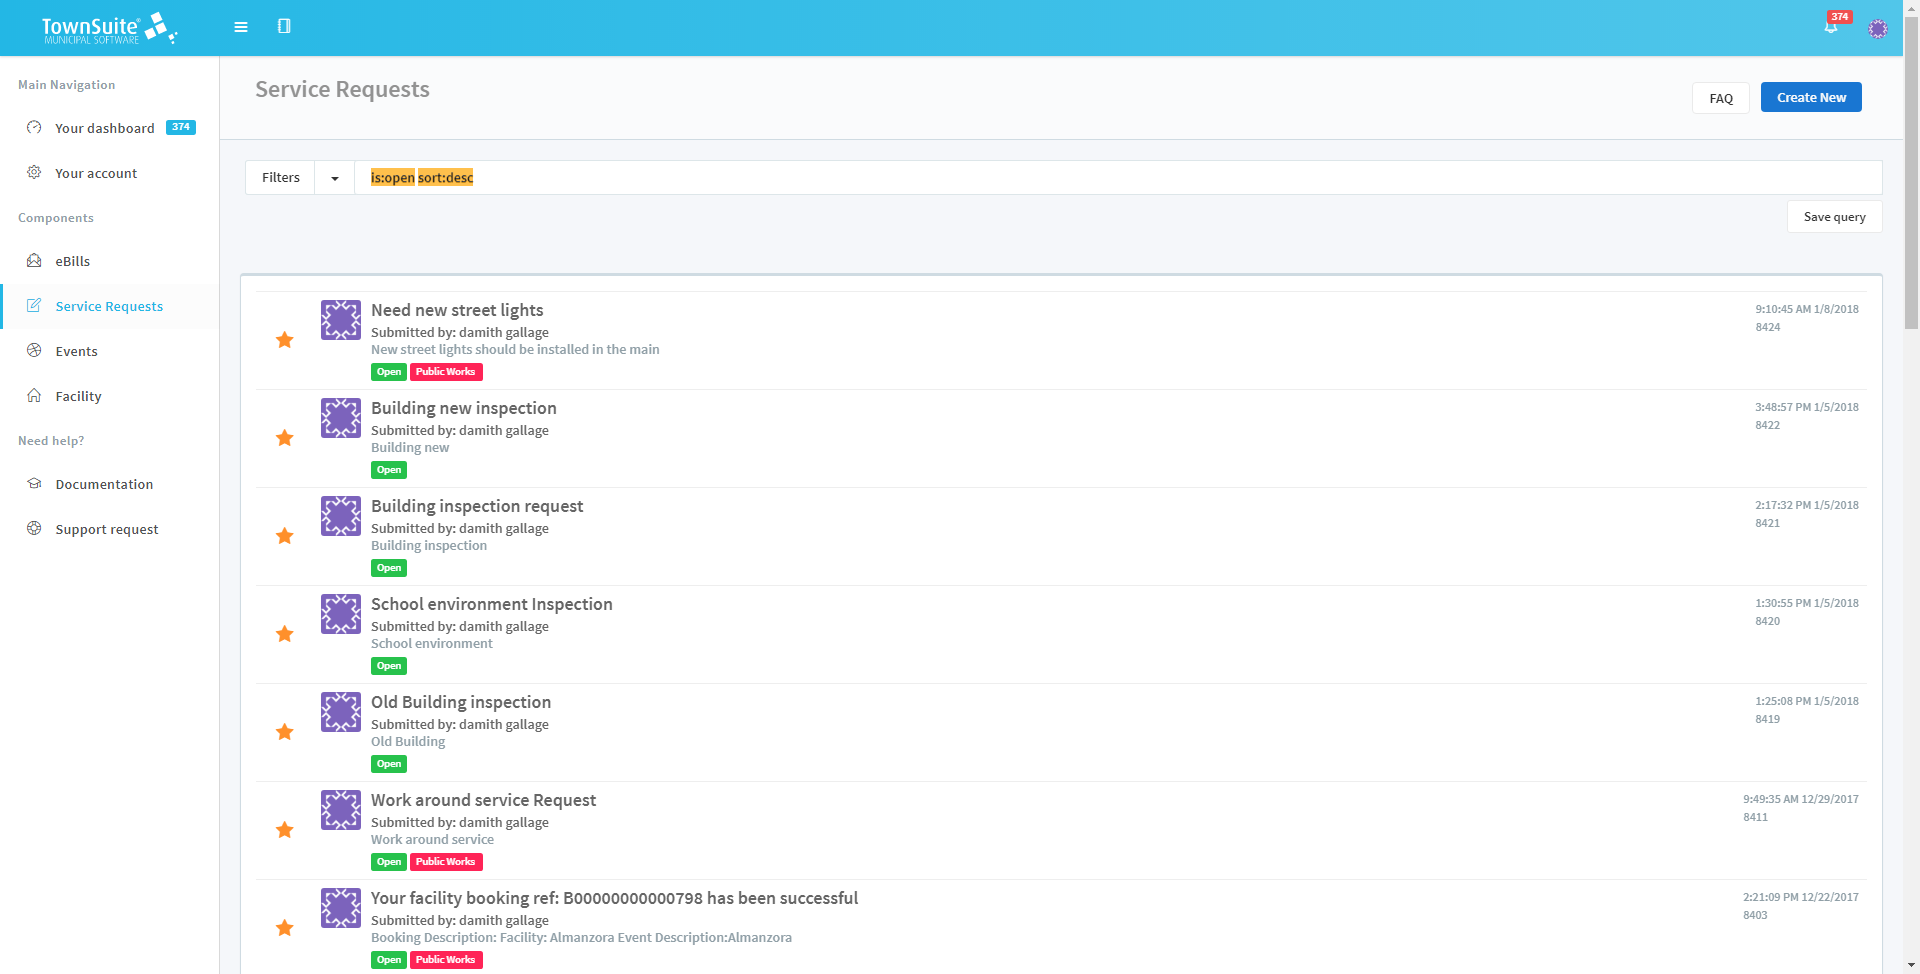
Next, click the Create New button and navigate to the Create Service Requests page. Click the Inspection Request button on the Create Service Requests page to be navigated to the Inspection Request page.
-
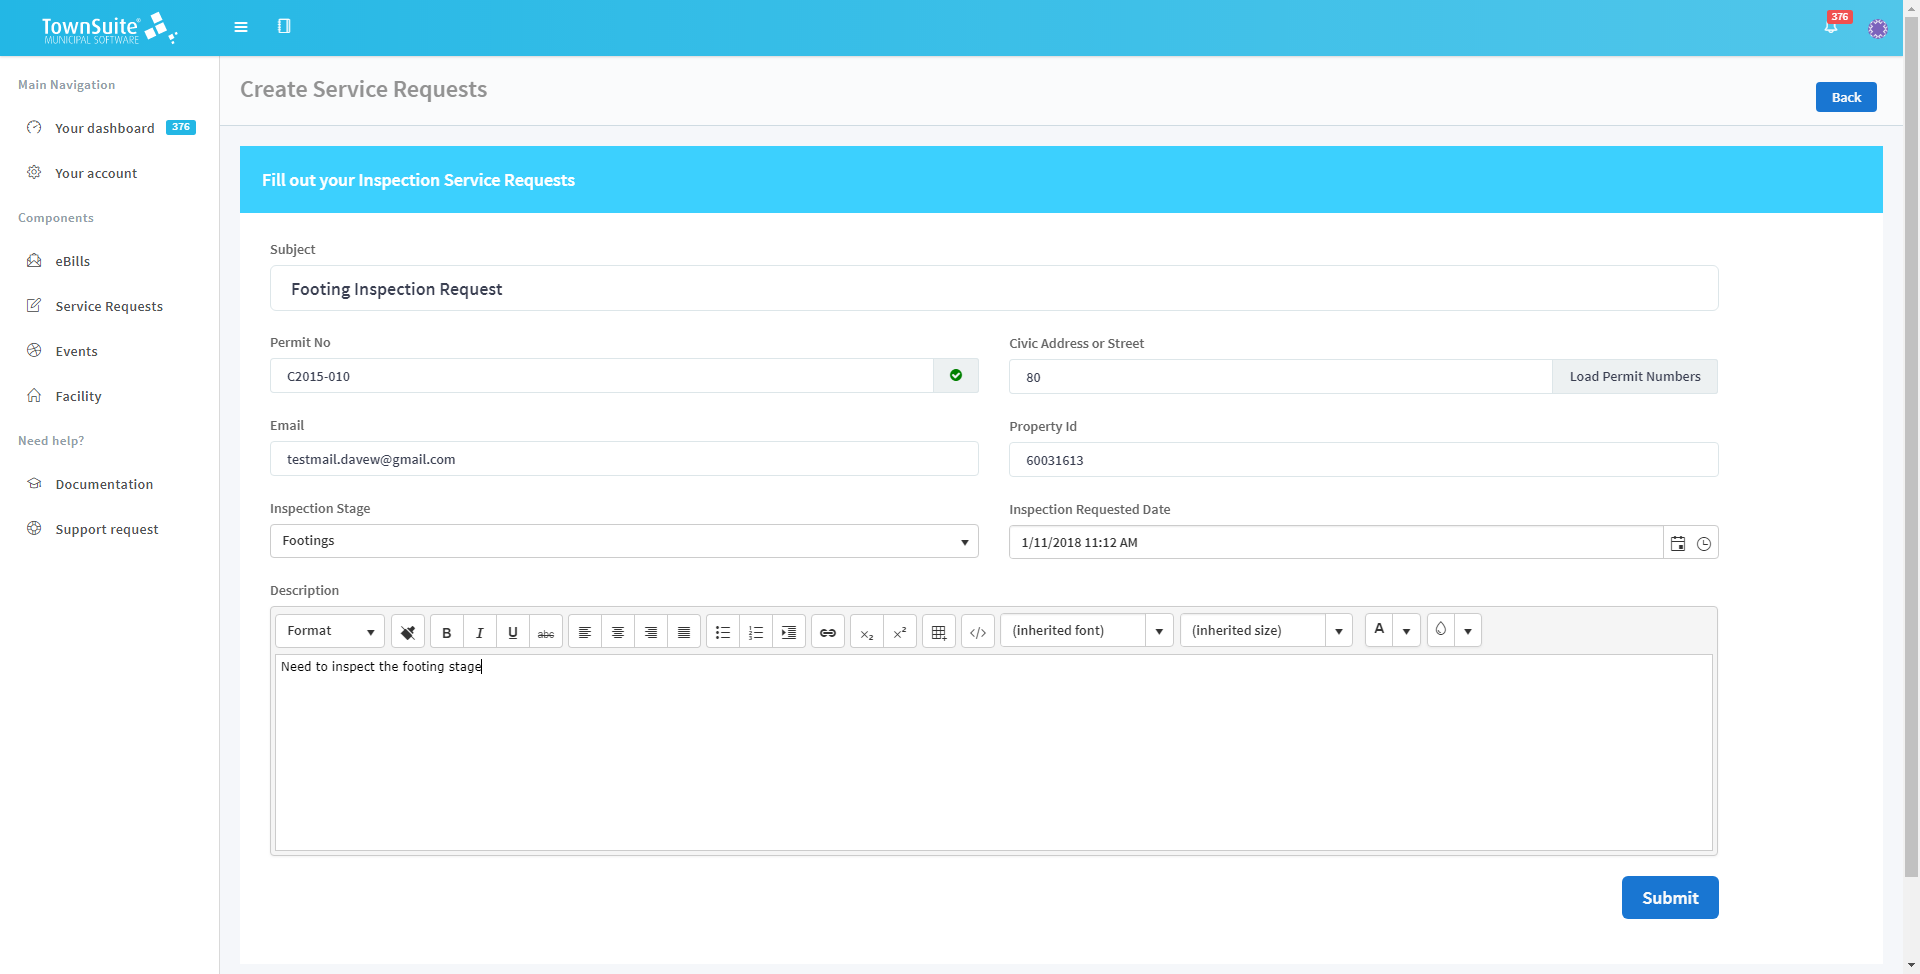
Enter the subject of the inspection request in the Subject text box.
-
Enter the permit number in the Permit No text area. Type the permit number and click the Validate Permit No button. If the permit number is available, it will be validated and the
 symbol will be displayed. (Check whether the permit number is active or not.)
 -
You can also search permit numbers by civic number or street.
-
Type the civic address or street in the Civic Address or Street text area. Next, click the Load Permit Numbers button.
-
If there is only one permit, it will be automatically displayed in the Permit No text area.
-
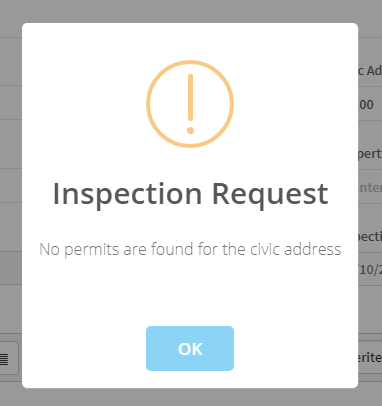
If there is no matching permit number, a message will be displayed acknowledging that there is no permit.
-
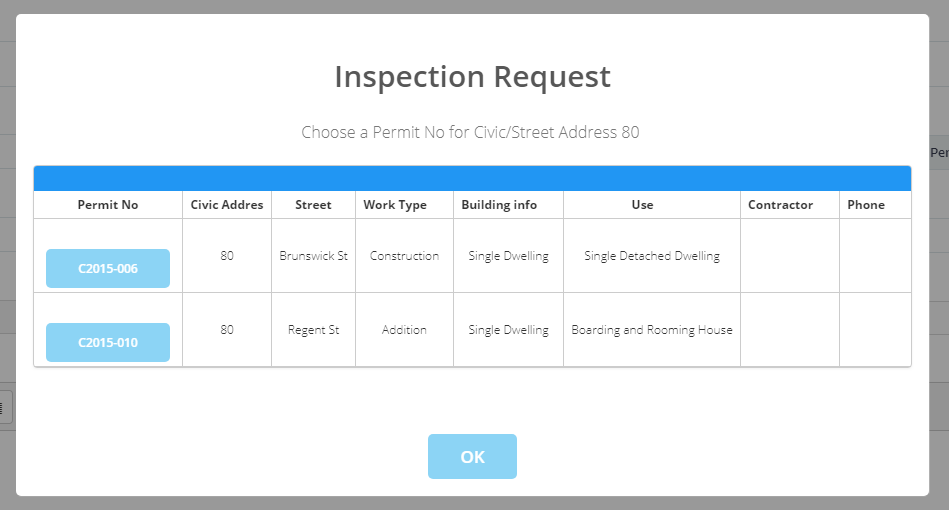
If there are multiple permits, the system will display the Inspection Request form.
-
Select the relevant permit number and it will be populated in the Permit No text area.
-
To validate the permit number, click the Validate Permit No button.
-
If the permit is active, the system will display a success message.

-
In front of the permit number, the
(Validated) symbol will be displayed.
-
-
The email address can be entered in the Email text box.
-
The property ID can be entered in the Property Id text box.
-
Select the inspection stage from the Inspection Stage dropdown list. Note: The Inspection Stage dropdown list will only be enabled if the permit number has been validated.
-
The requested date will be displayed in the Inspection Requested Date calendar control. You can change the requested date but the control will be enabled for editing only if the permit number is validated.
-
The description of the inspection request should be entered in the Description text area. You can format the text using the formatting options provided in the tool bar.
-
Submit the request by clicking the Submit button and a success message will be displayed. Users will be navigated to the detailed view of the request.
-
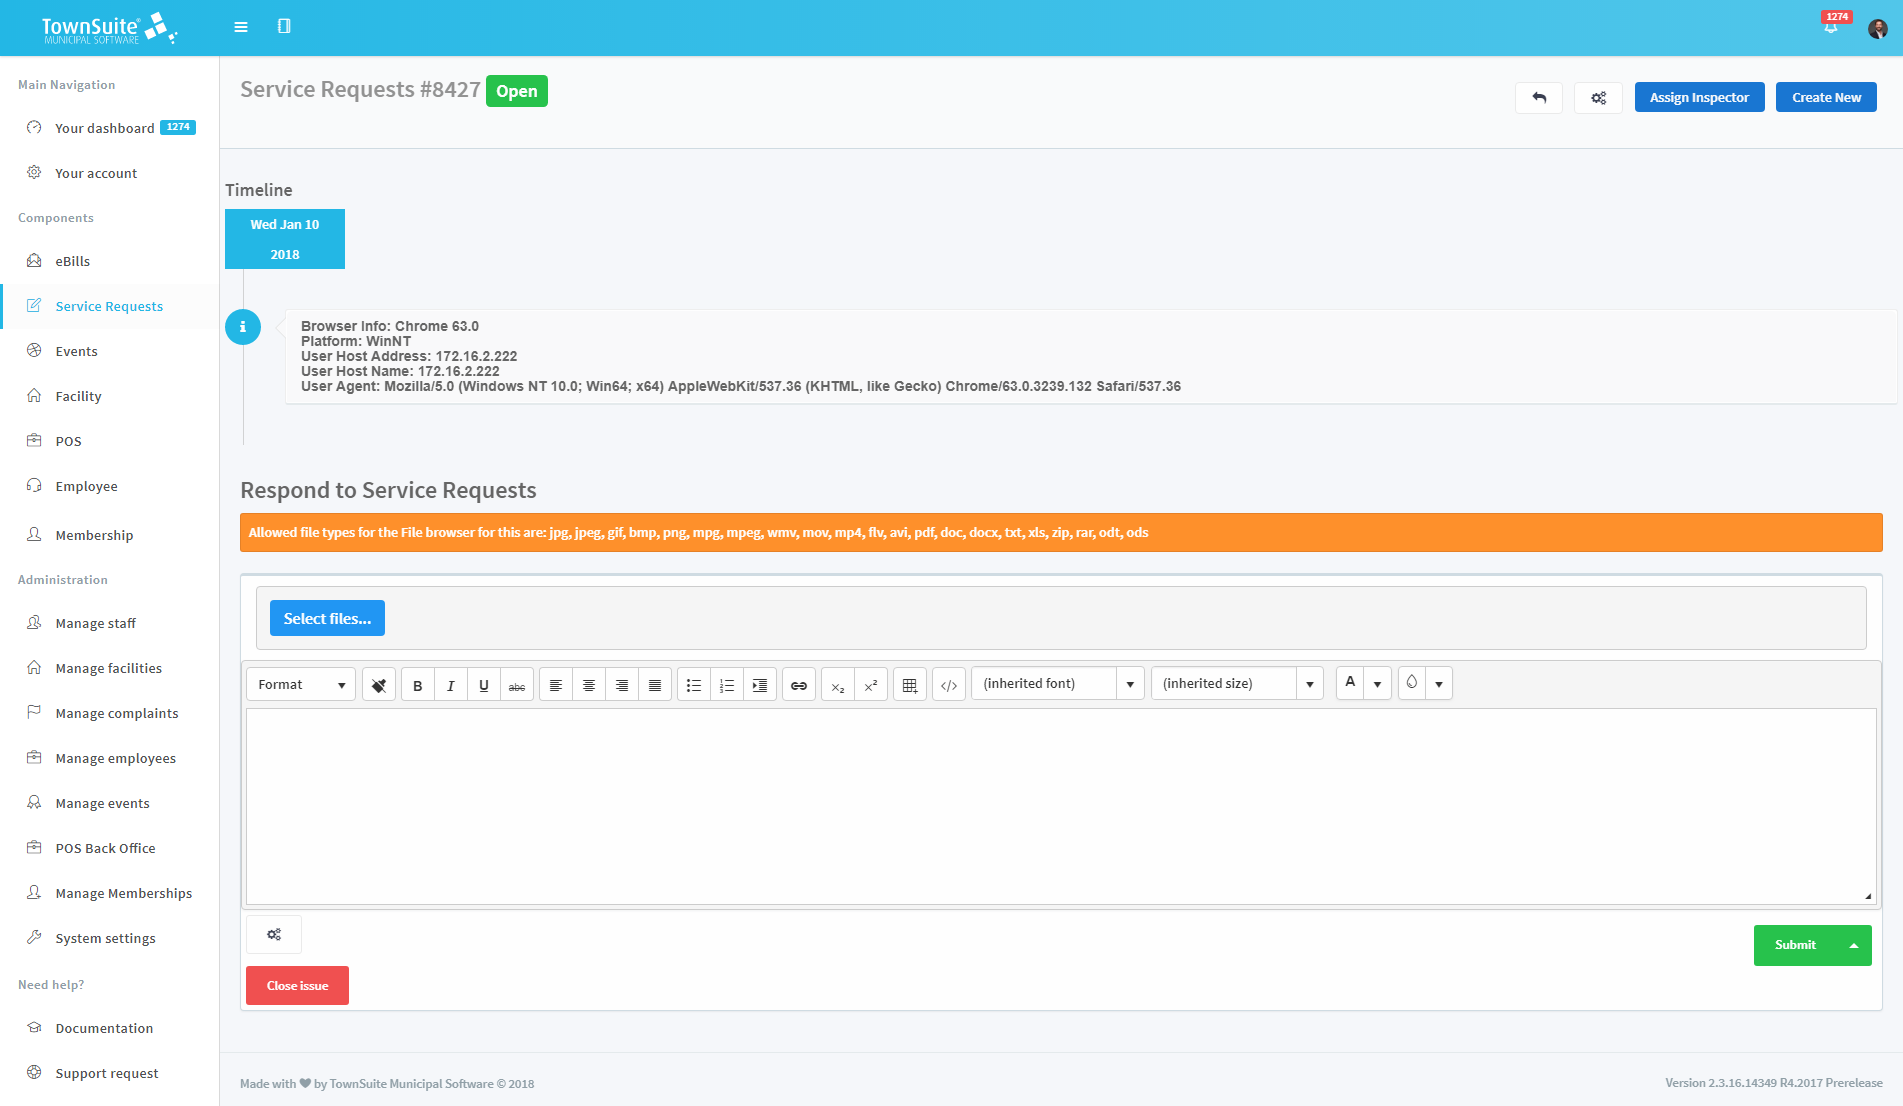
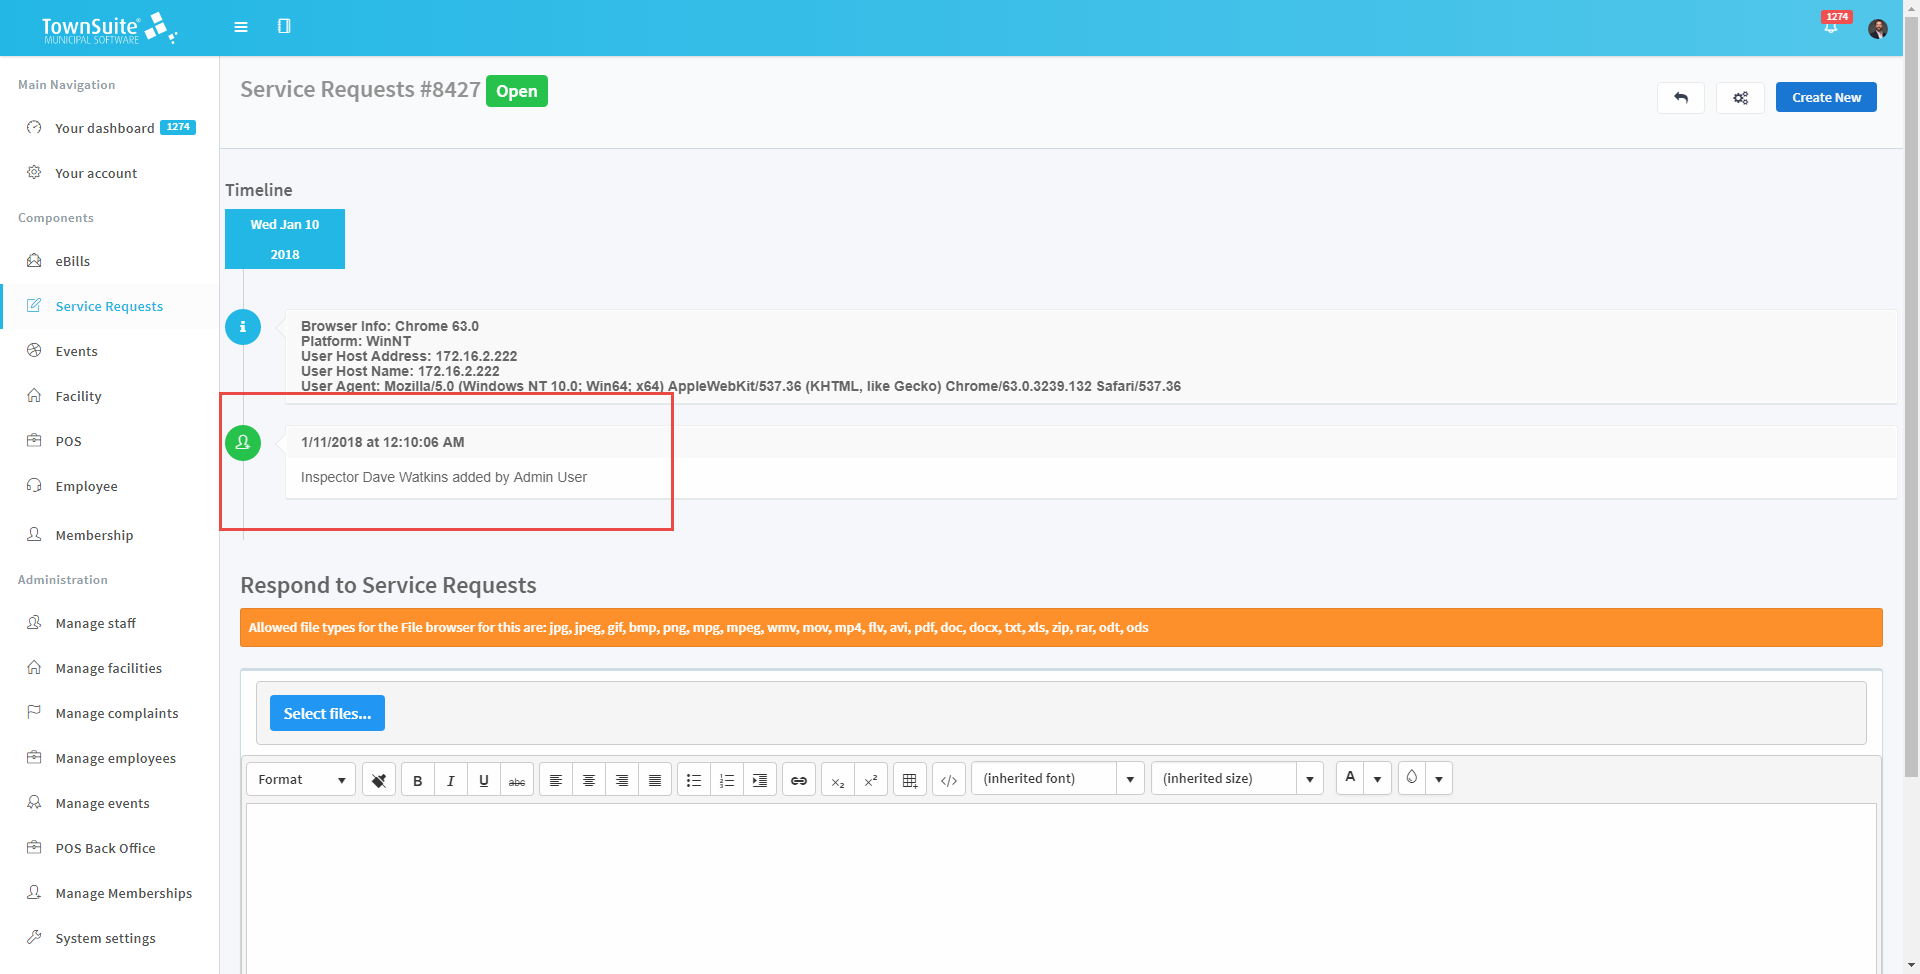
Municipal staff can assign an inspector to the request from the staff member view of the detailed inspection request.
-
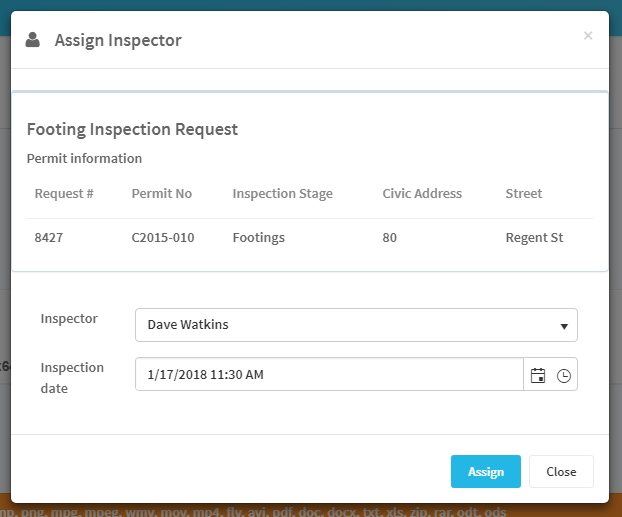
Click the Assign Inspector button found in the top right corner of the detailed view and the Assign Inspector form will be displayed.
-
Select the Inspector and the Inspection date.
-
To assign the inspector, click the Assign button. The inspector will be assigned and displayed in the detailed view.
-
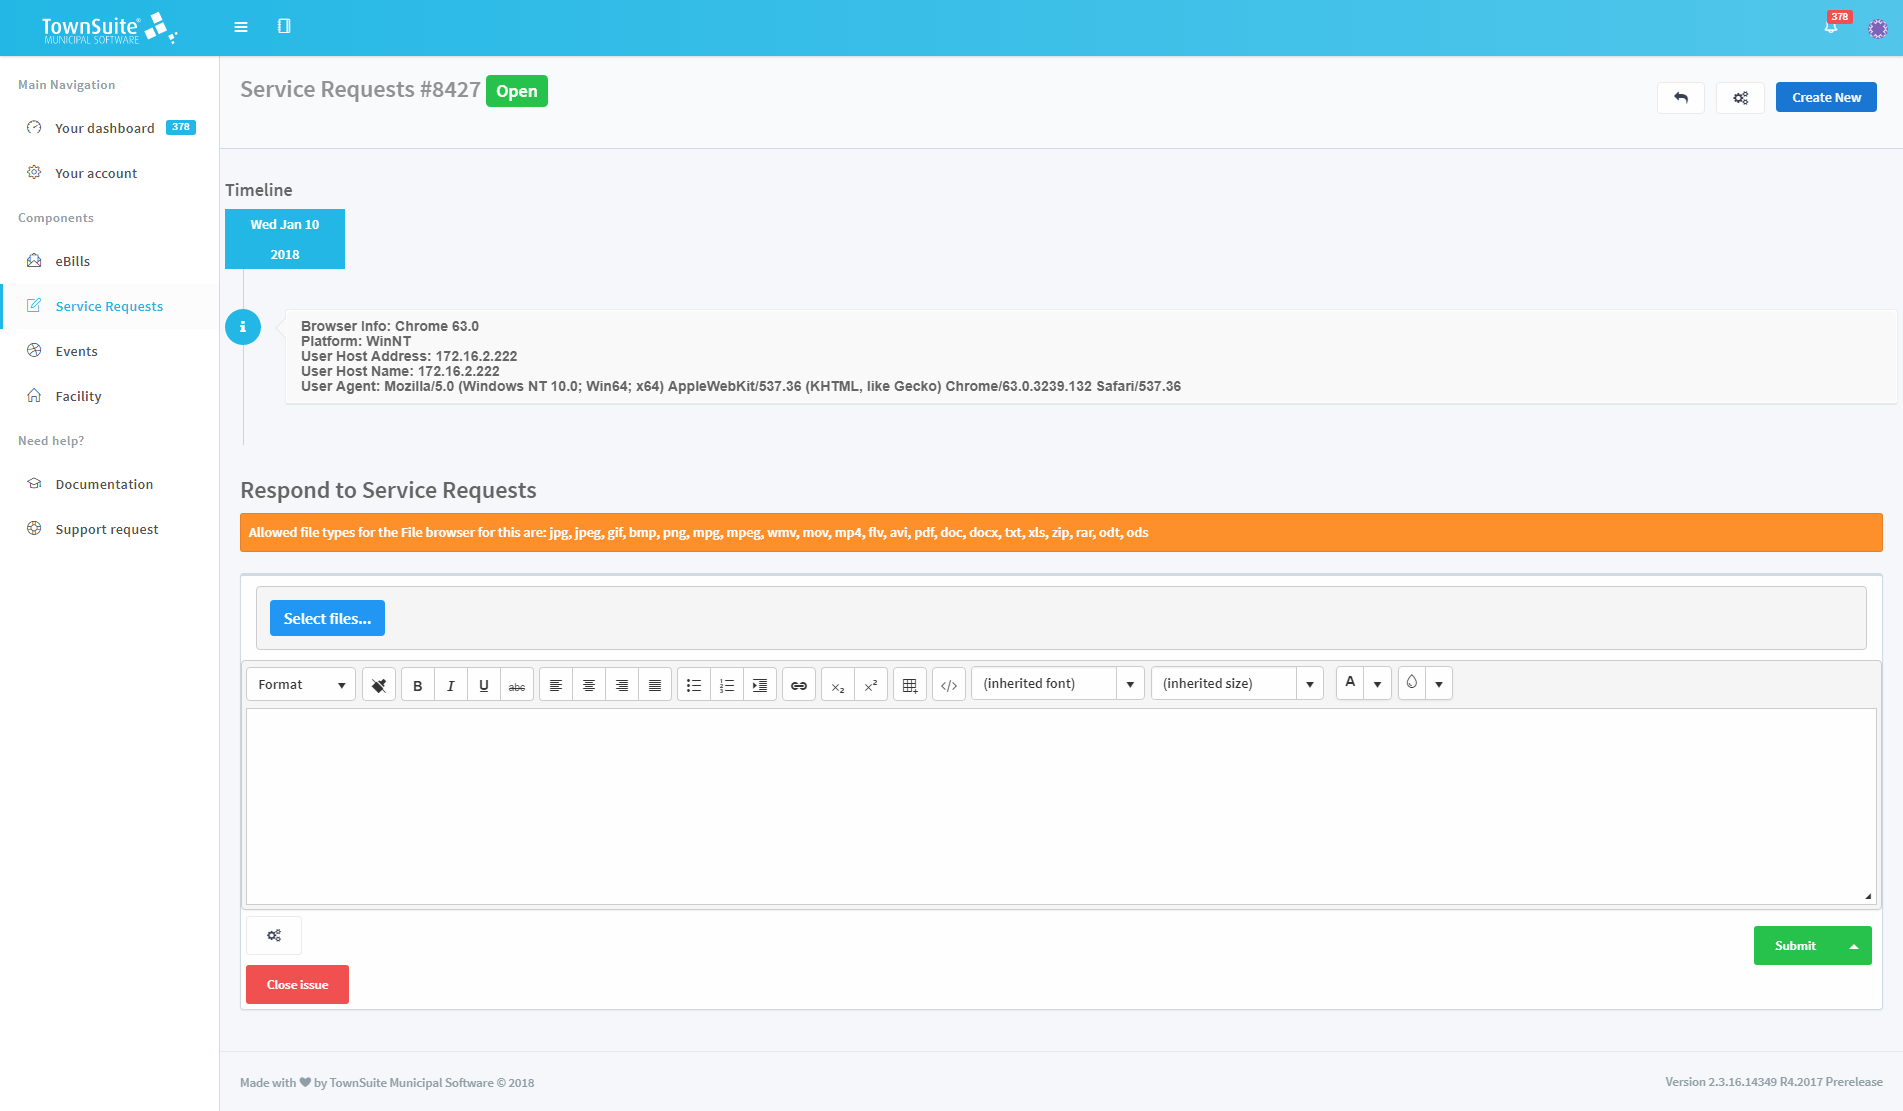
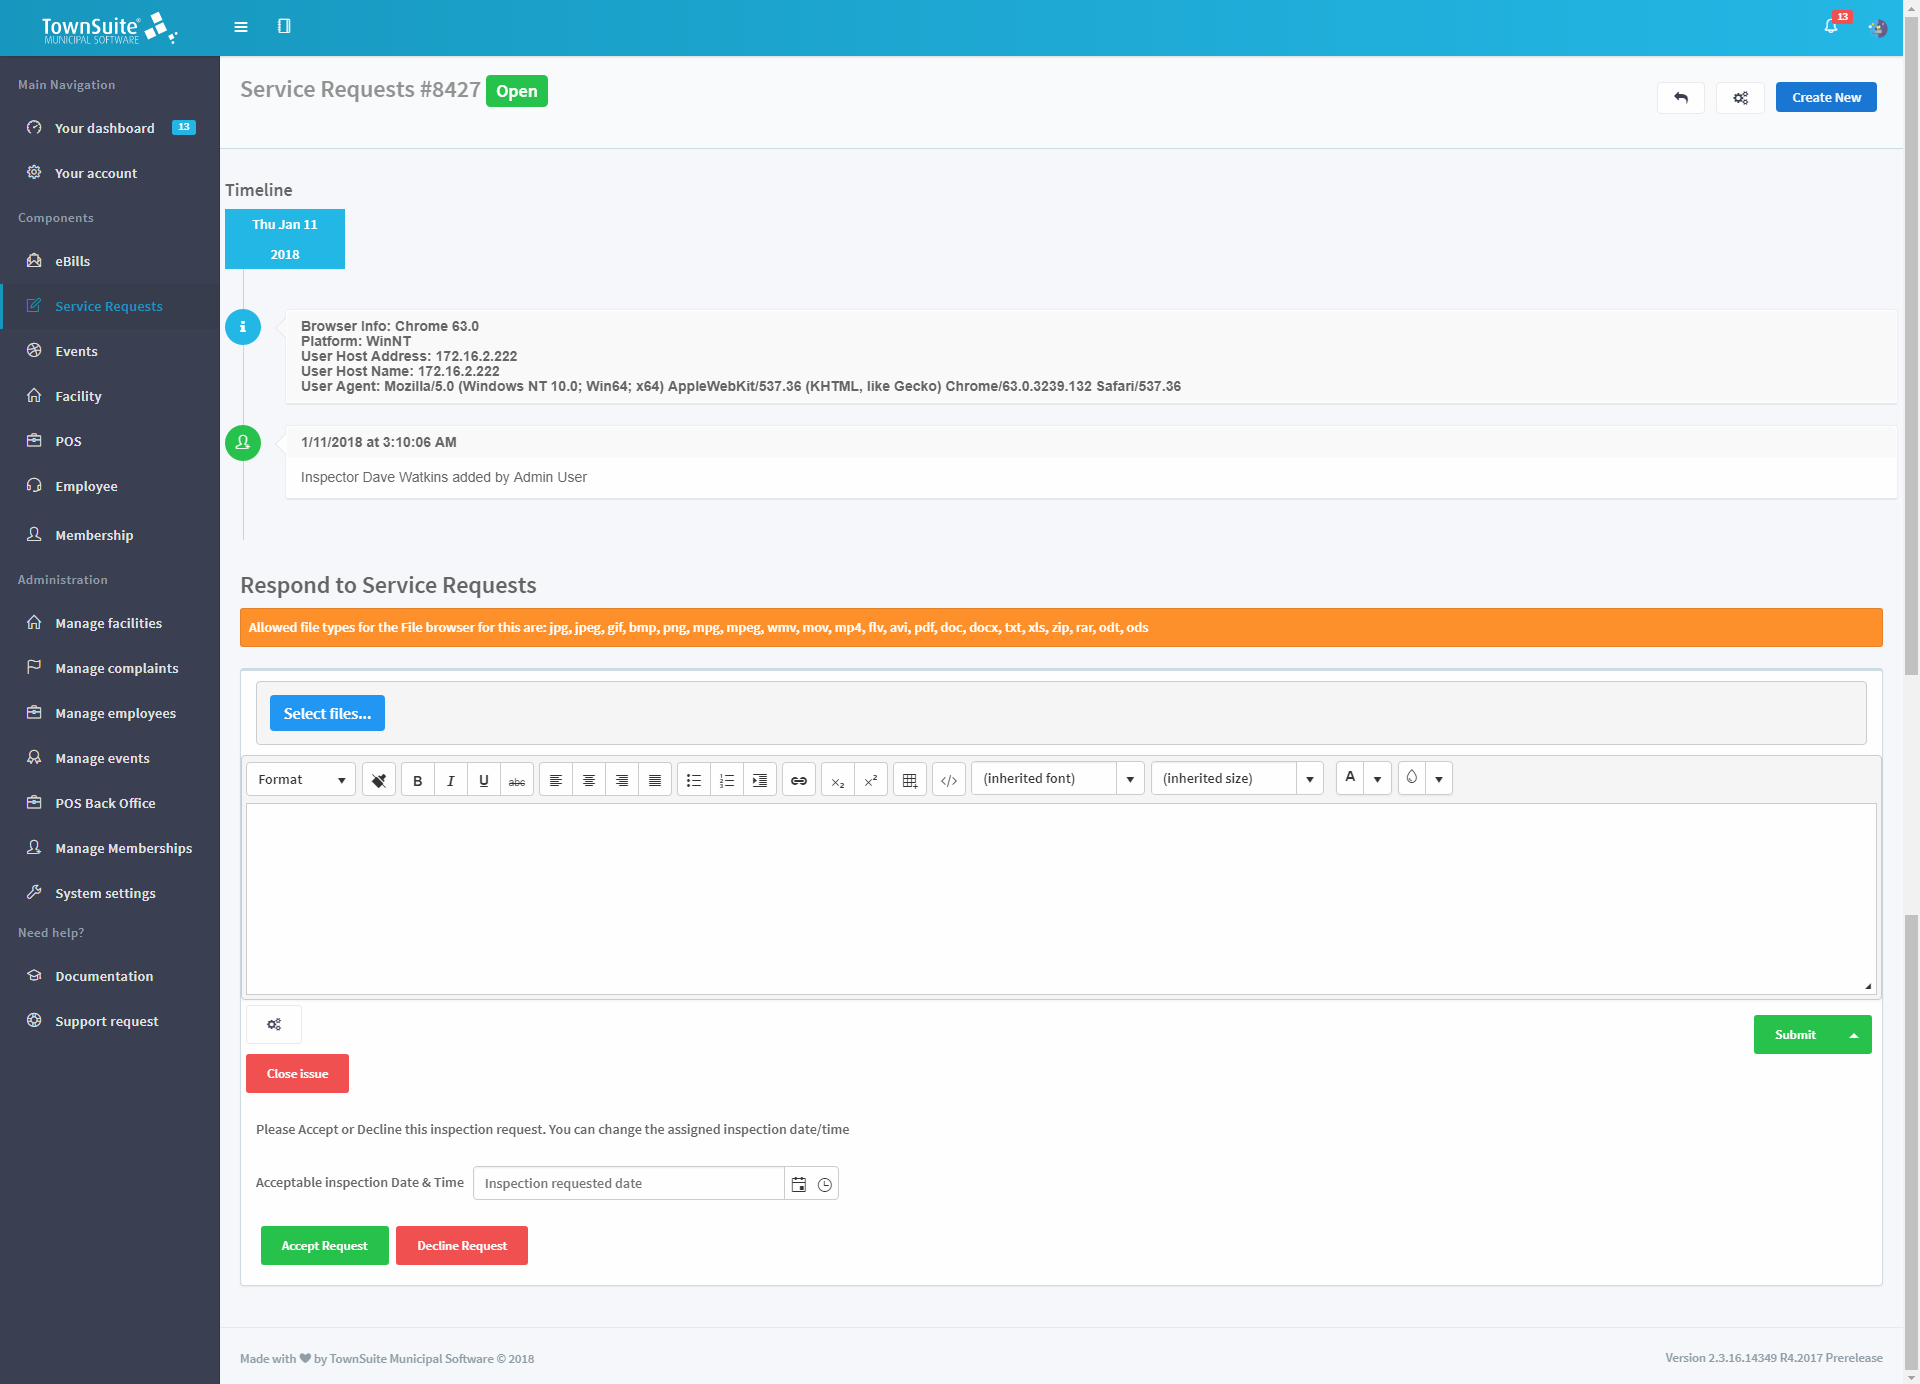
The inspector can view the detailed view of the inspection request and can approve or decline it.
-
Users can respond to the inspection request in the Respond to Service Requests section of the detailed view.
-Add an attachment by clicking the Select files button.
-
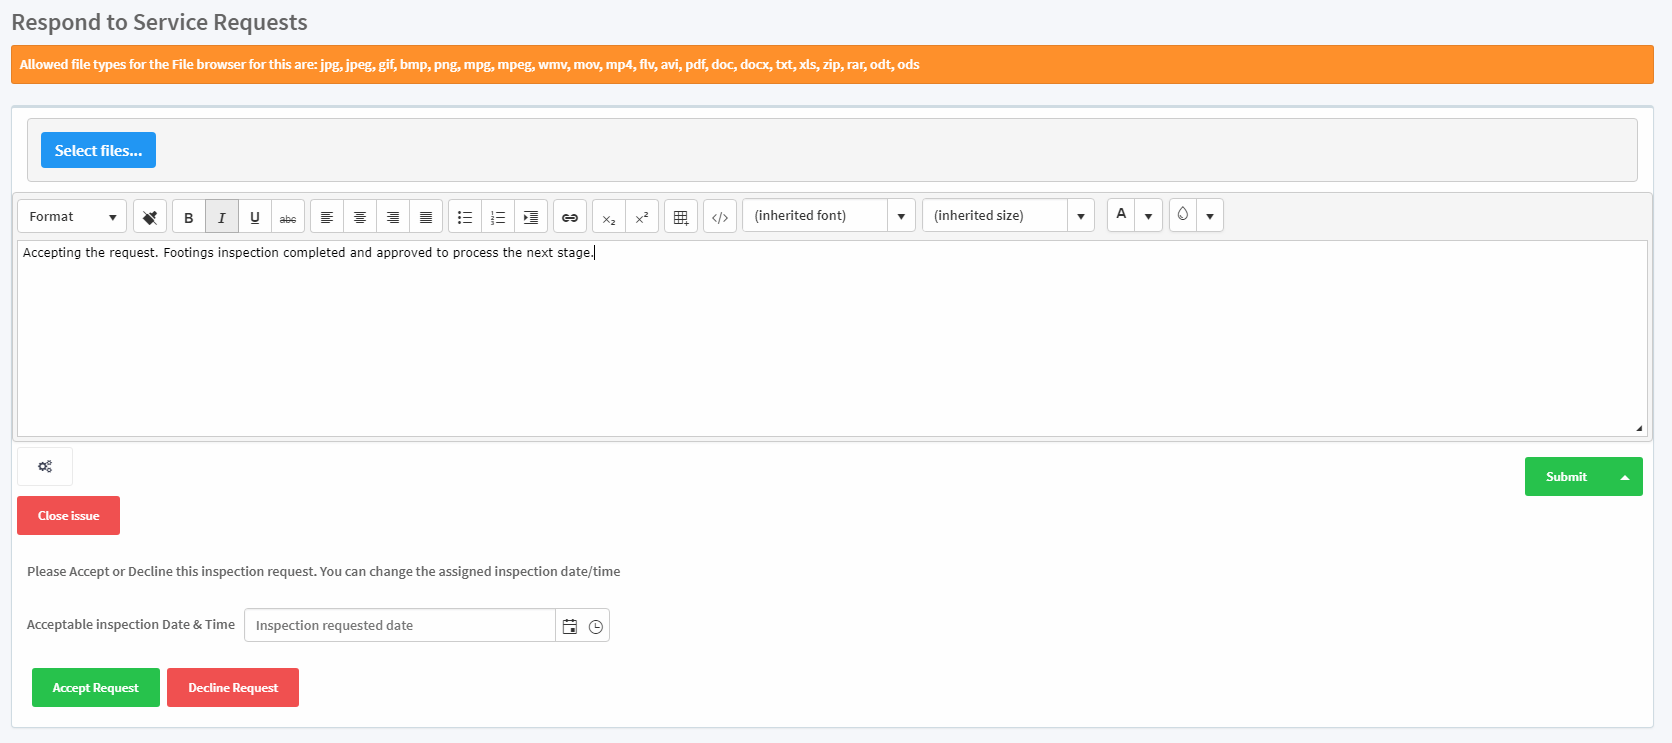
Add comments in the text area provided.
-
Select the inspection date in the Acceptable inspection Date & Time calendar control.
-
To accept the request, click the Accept Request button. To decline the request, click the Decline Request button.
-
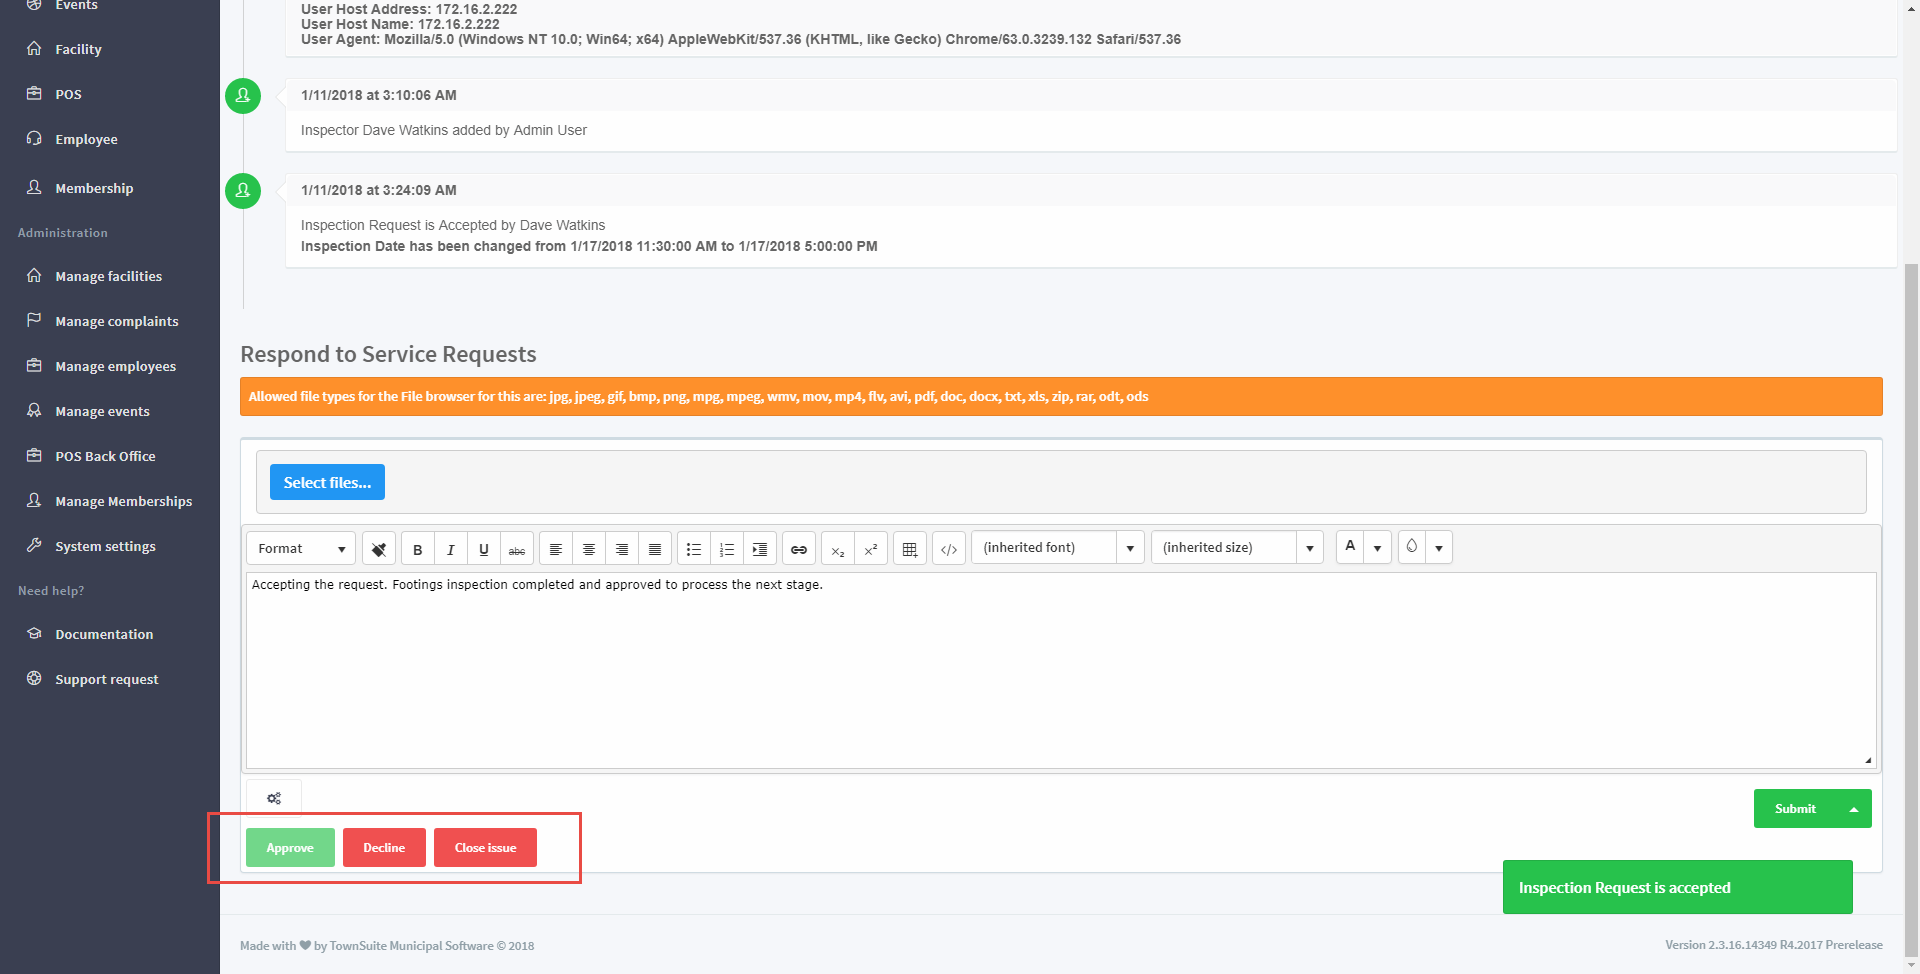
If the Accept Request button is clicked, a success message will be displayed. Also, the Approve button will be disabled and the Decline and Close issue buttons will remain enabled.
-
If the Decline Request button is clicked without approving the request, a success message will be displayed and only the Close Issue button will be displayed.
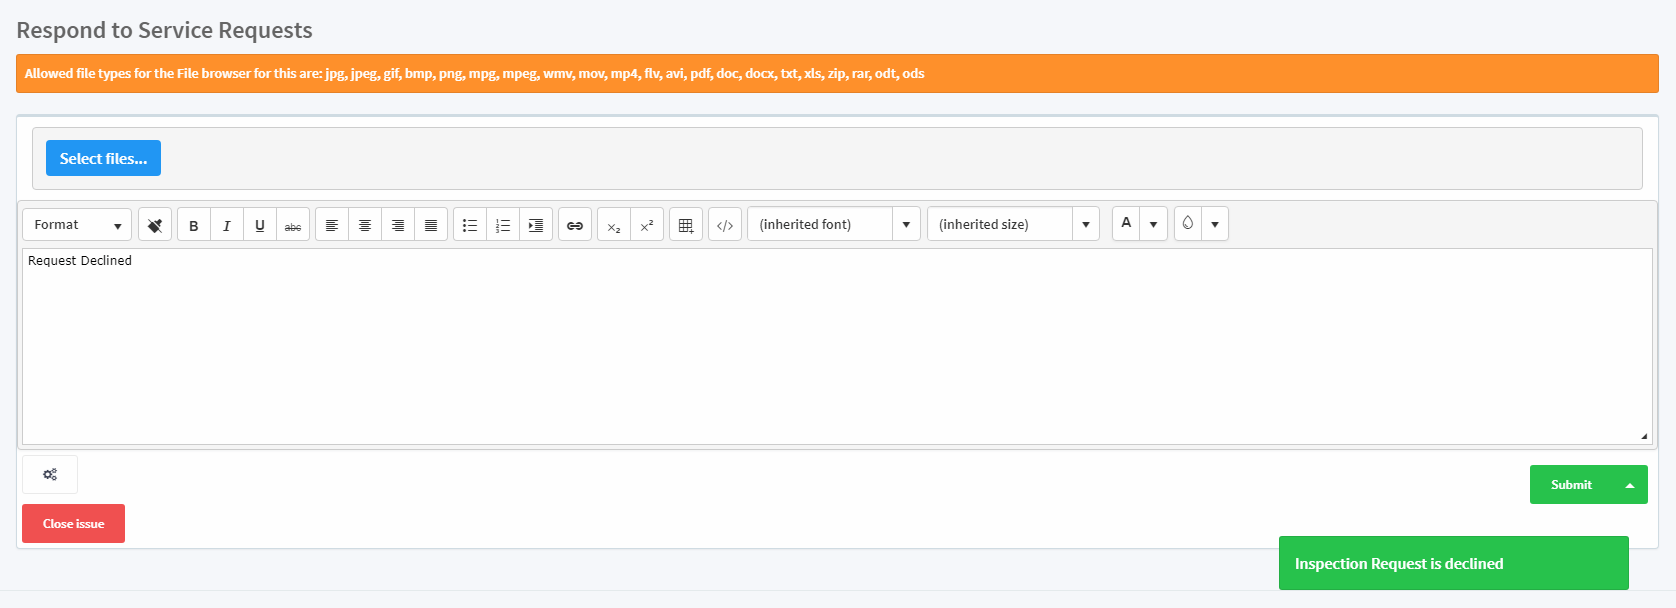
-
Users can decline an approved request by clicking the Decline button.
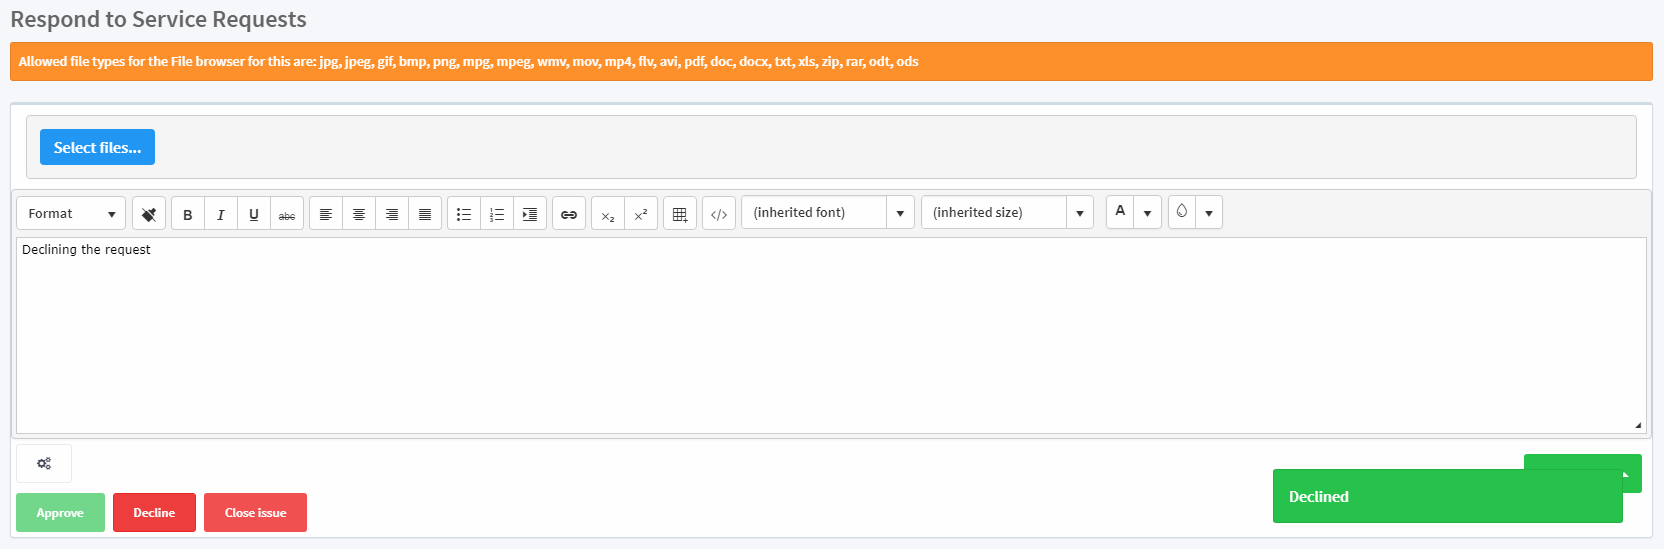
-
To close a request, click the Close issue button and a success message will be displayed. Also, the Reopen issue button will be displayed and the user can reopen the request at any time.
